Have you ever struggled with removing your mountain bike pedals? Yeah, we’ve all been there. So here you Learn how to remove mountain bike pedals like a pro! Our this ultimate step-by-step guide offers expert advice and easy-to-use techniques. Although it seems like it should be an easy task, those pedals can put up a good fight and leave your knuckles sore and your pride bruised. But don’t worry, we’re here to show you the tips and tricks to make quick work of those stubborn pedals. In just a few easy steps, you’ll have those pedals off and be ready to upgrade or perform some much-needed maintenance. No more wrestling matches or calls to your gear-savvy friend required. By the time you’re done reading this, removing your mountain bike pedals will be second nature. Let’s get to it!
Table of Contents
How to Remove Mountain Bike Pedals – In 4 Steps
To remove your mountain bike pedals, you’ll need the right tools and technique.
Gathering the Necessary Tools
- An 8mm hex key or Allen wrench to fit your pedal axle
- A 15mm open-end wrench or adjustable spanner to grip the pedal wrench flats
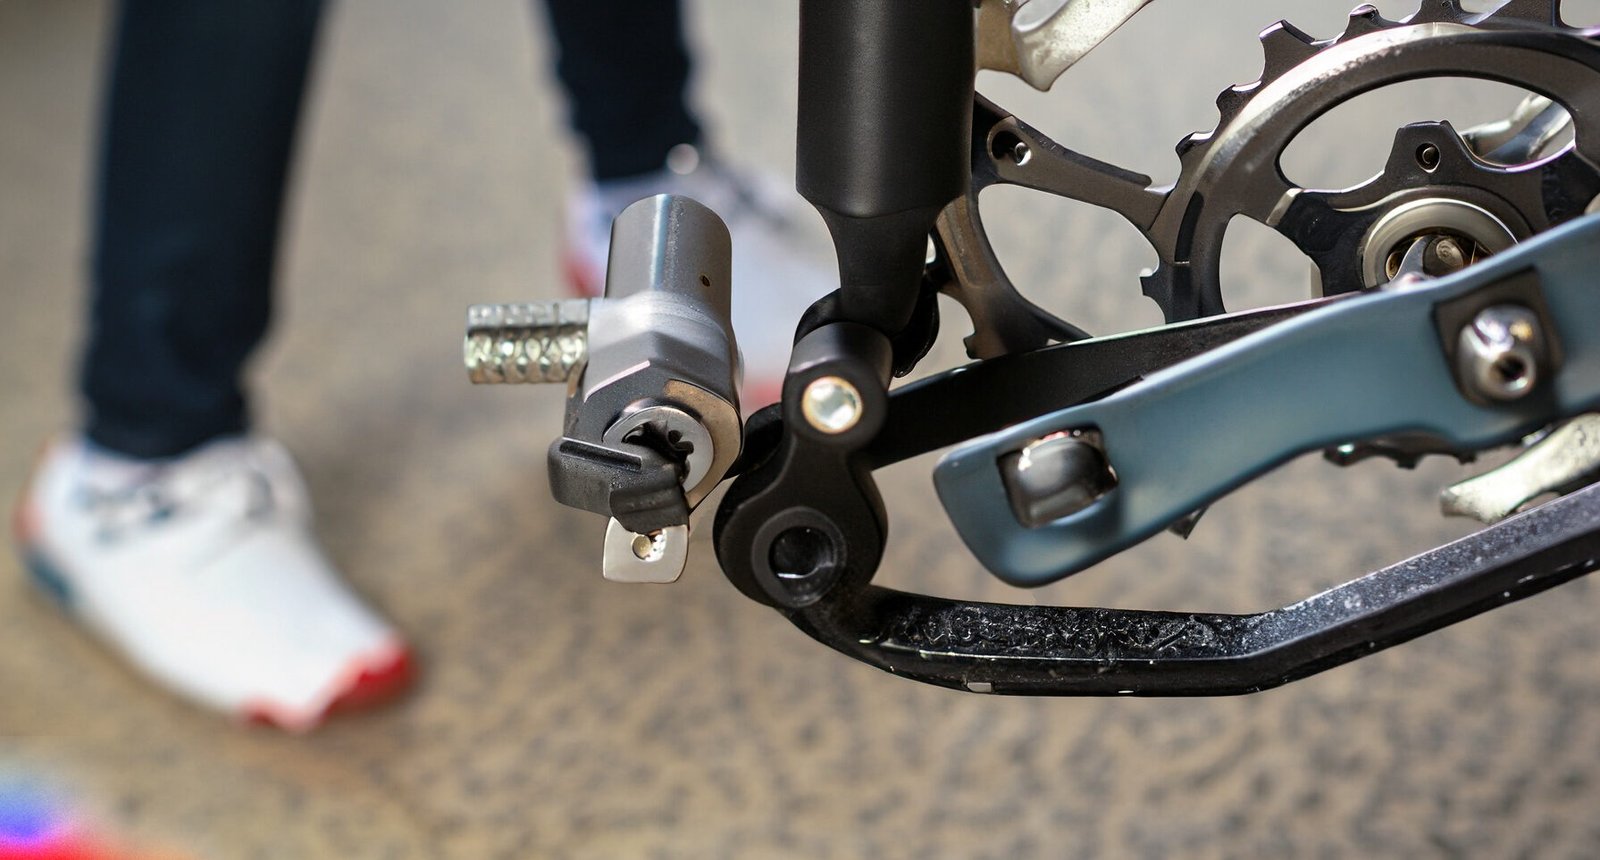
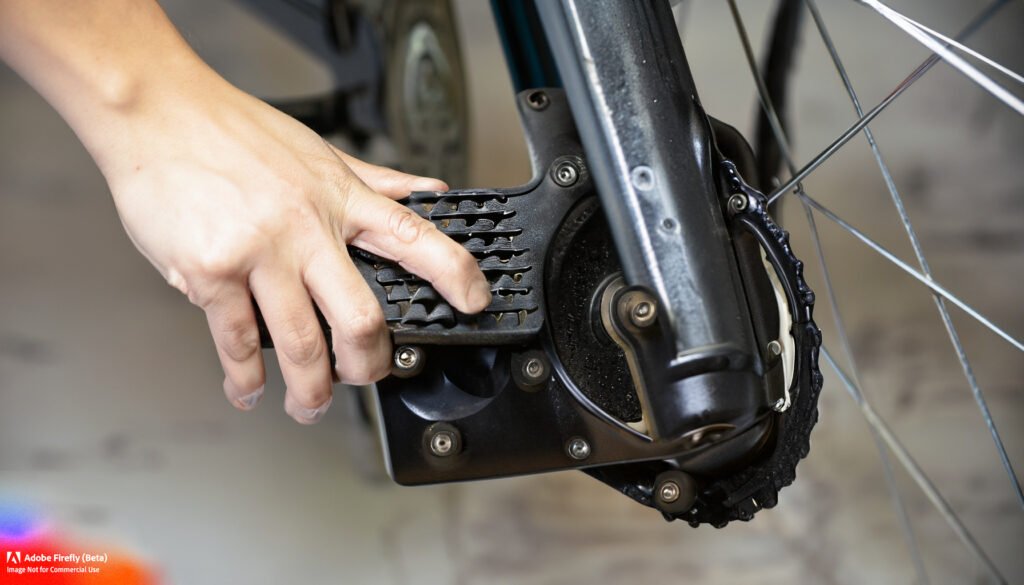
Immobilizing the Crankarms
The crankarms on either side of the bottom bracket can spin freely, making it difficult to loosen the pedals. To prevent this, wedge a towel, rag or block of wood between the crankarm and the chainstay to lock the crank in place.
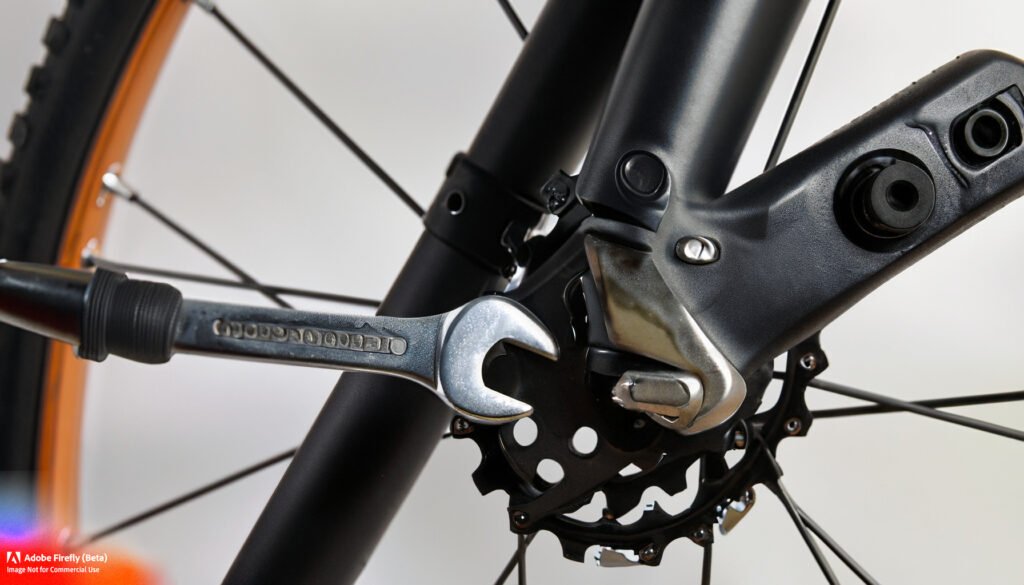
Using the Hex Key
- Fit the 8mm hex key over the end of the pedal axle protruding from the crankarm.
- Place the 15mm spanner on the wrench flats of the pedal.
- Grip the spanner to hold the pedal in place and turn the hex key counterclockwise to loosen the pedal. If it’s stuck, apply firm and steady pressure.
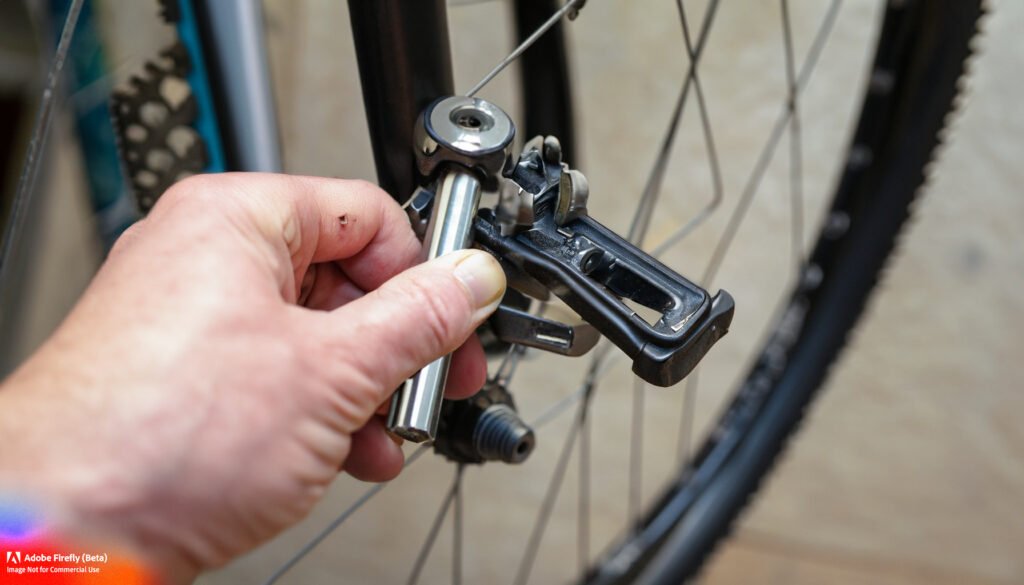
Removing the Pedal
Once loosened, continue turning the hex key to unthread the pedal from the crankarm. It may take 15-20 full turns to remove the pedal completely. Be very careful not to strip the threads in the crankarm.
Bike Pedals in the “Right” Direction in the “Right” Direction
To remove your mountain bike pedals without trouble, you’ll need to know which pedal is which and turn them in the correct direction.
- The right pedal is marked ‘R’ and loosens by turning counterclockwise, while the left pedal marked ‘L’ loosens by turning clockwise. If the pedals aren’t marked, look for the directional arrow on the pedal axle or body. The arrow points in the direction to loosen.
After you have find the right pedal,now its time to chang or removed. You’ll need an adjustable wrench or pedal wrench and possibly some penetrating oil.
- Lubricate the pedal threads with oil and let it soak in for several minutes. This helps loosen any corrosion to avoid stuck pedals.
- Place the wrench on the pedal axle and turn counterclockwise. Apply firm and steady pressure. If it’s stuck, tap the end of the wrench with a mallet to help break it loose.
- Keep turning counterclockwise as the pedal threads out of the crank arm. Be very careful not to let the pedal fall, as it can damage the crank threads. Have a rag ready to grab the pedal.
- Clean the crank threads with a rag to remove any dirt or debris before installing the new pedal.
Removing the left pedal is similar but requires turning clockwise. The most important thing is going slowly, applying even pressure, and ensuring you turn the pedals in the proper direction. With some patience, you’ll have your pedals off in no time and be ready to install new ones.
Also Read: Discover the Thrill: 5 Must-Try Mountain Biking Trails Near You
How to Loosen & Remove Your Bike Pedals That Are Stuck
Sometimes pedals that haven’t been removed in a long time can get stuck due to rust, corrosion, or simply being overtightened. Don’t worry, with some patience and the right techniques, you can get even the most stubborn pedals off.
Apply More Penetrating Oil
Apply another coat of penetrating oil and let it soak in for several hours or overnight if possible. The longer it has to penetrate the threads and any rust, the more effective it will be. Wipe away any excess oil before attempting to turn the pedal.
Use a Pipe for Added Leverage
If using an Allen wrench or pedal wrench isn’t providing enough torque, you can slip a metal pipe over the end of the wrench to increase your leverage. Make sure the pipe is securely over the wrench before turning. Apply firm and consistent pressure in the counter-clockwise direction.
Heat the Pedal Spindle
As a last resort, applying heat to the pedal spindle can help expand the metal, breaking it free from any corrosion. Use a normal propane torch to evenly heat the spindle for 30-60 seconds. Be very careful to not overheat the crank arm. Immediately try turning the pedal using a wrench while wearing heat-resistant gloves. The short burst of heat may be just enough to loosen the bond and allow the pedal to turn.
Avoid Damaging the Crank
Whatever method you try, be very careful not to strip the pedal threads or damage the crank arm. Apply firm yet controlled pressure and stop if you encounter a lot of resistance. It’s best to have a bike shop mechanically remove seized pedals to avoid potential damage. They have the proper tools, experience, and can replace damaged parts if needed.
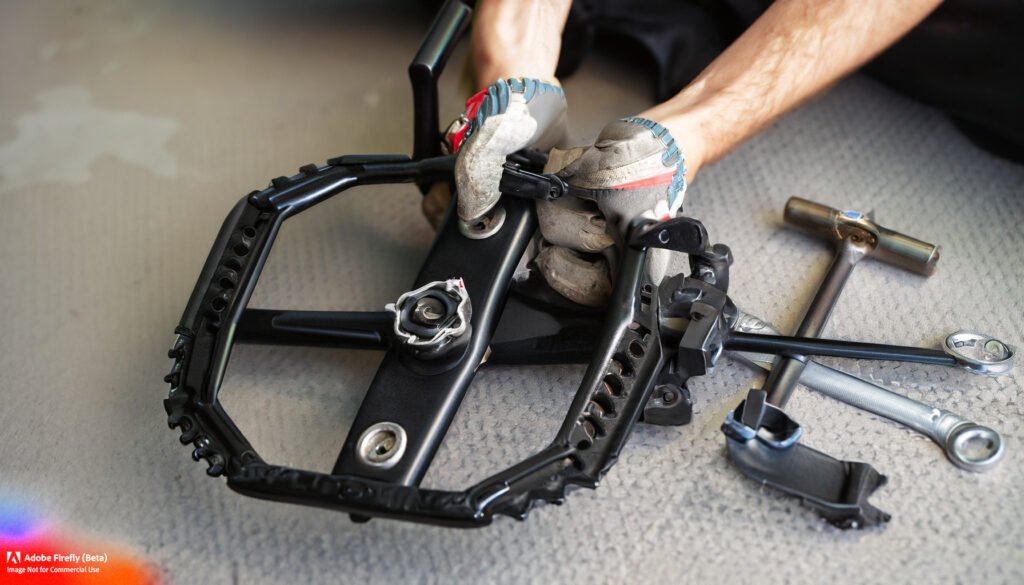
How to Remove Bike Pedals Use a Wrench
Double Check the Pedal Direction
Before you start wrenching away at your pedals, double check which direction they are threaded. Most pedals have threading that follows the typical “righty tighty, lefty loosey” rule, meaning you turn the wrench clockwise to tighten and counter-clockwise to loosen. However, some pedals, especially on older bikes, can be reverse threaded. To determine your pedal threading, look at the end of the pedal spindle. Regular threading will have the spindle getting wider at the end, while reverse threading narrows at the end.
Find the Right Pedal Wrench Size
The correct wrench size for your specific pedals is critical. Using a wrench that is too large or too small can strip the pedal spindle, ruining the threads. The most common sizes for mountain bike pedals are 15mm and 9/16 inches. If your pedal wrench does not fit snugly over the spindle, try using an adjustable wrench instead. Make sure to grip the wrench firmly over the spindle flats – the wide, flat sections where the spindle meets the pedal body.
Apply Pressure in the Proper Direction
Place the pedal wrench over the spindle flats and push firmly in the direction needed to loosen the pedals. For regular threading, this will be counter-clockwise. For reverse threading, turn the wrench clockwise. You may need to apply quite a bit of pressure to initially break the pedals loose. Using a longer handled wrench, pipe wrench or cheater bar over the end of your wrench can help give you extra leverage.
Consider Using Penetrating Oil
If your pedals are stuck on tight, applying a penetrating oil like WD-40 around the spindle and crank arm threads can help loosen the connection. Spray the oil right way on liberally & wait it soak in for at least few hours or overnight if possible. The oil will seep into the threads, helping to break the bond and making the pedals easier to remove.
Remove the Pedals
Once you have the pedals breaking free, continue turning the wrench to fully remove the pedals from the crank arms. For stubborn pedals, you may need to apply heat from a hair dryer in addition to the penetrating oil. Be very careful not to overheat the crank arm. Remove the pedals slowly and steadily while maintaining firm pressure to avoid stripping the threads.
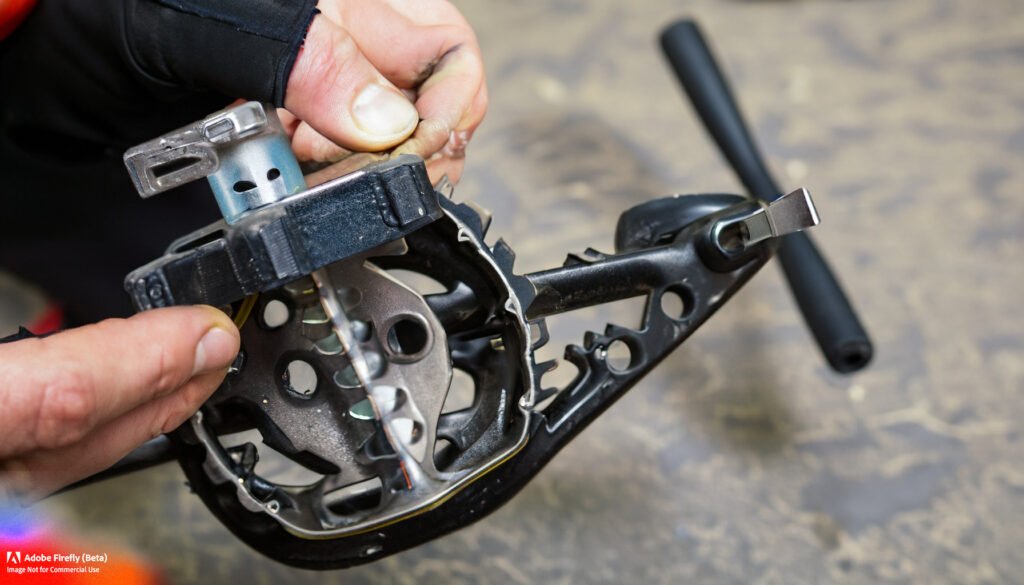
How to Remove Bike Pedals Using an Allen Key
Removing your mountain bike pedals is a straightforward process once you know the steps. The most necessary tool you will need is an Allen key, this known as a hex key. This fits into the spindle of the pedals to loosen them from the crank arms.
Push the spindle down with an Allen wrench
Locate the Allen bolt in the center of the pedal spindle. This is a hex-shaped hole that fits the Allen key. Place the correct size Allen key into the hole and push down firmly while turning counter-clockwise. For most pedals, you’ll use either a 6 mm or 8 mm Allen key.
Turn the Spindle Repeatedly to Unscrew the Pedals
Keep rotating the Allen key counter-clockwise while pushing down. The pedal may feel stuck at first, so you’ll need to apply firm and constant pressure. Be very careful not to strip the threads by applying too much force. Rotate the spindle at least a full revolution for the best results.
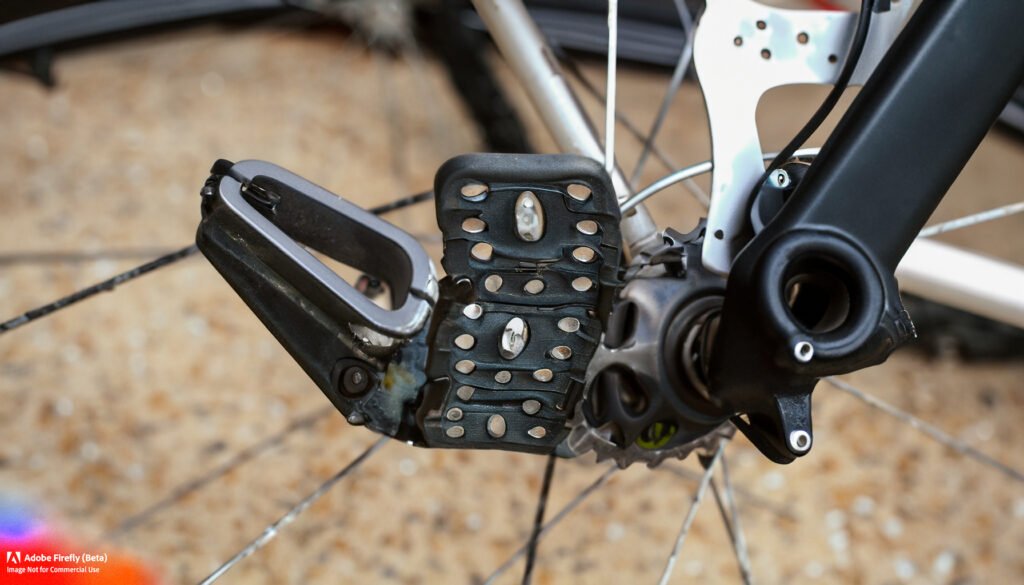
How to Remove Trek Mountain Bike Pedals
Trek mountain bikes typically use Shimano clipless pedals which require an SPD cleat to click in. To remove the pedals, locate the spindle bolt on the back of the pedal and turn counter-clockwise with a 6 mm Allen key and adjustable wrench for extra leverage. Rotate firmly and steadily to avoid damaging the crank arm threads.
How to Remove Specialized Mountain Bike Pedals
Specialized mountain bike pedals also commonly use Shimano SPD clipless pedals. Follow the same steps to remove these pedals using a 6 mm Allen key and adjustable wrench. Be extremely cautious when removing pedals from carbon fiber crank arms, as too much force could cause damage. If the pedal feels stuck, apply a penetrating oil and let it sit before trying again.
Here Are the Steps to Removed Shimano Mountain Bike Pedals with an Allen Key
Shimano is a popular brand of clipless pedals for mountain biking. To remove Shimano SPD pedals:
- Locate the 6 mm Allen bolt in the center of the pedal spindle.
- Place the Allen key in the bolt and turn counter-clockwise while pushing firmly.
- Rotate the Allen key at least one full revolution to loosen the pedal.
- Grasp the end of the pedal with an adjustable wrench for extra leverage.
- Continue turning the Allen key and wrench counter-clockwise until the pedal releases from the crank arm.
Removing your own mountain bike pedals may seem difficult, but with the right tools and techniques you’ll have them off in no time. Be patient and proceed cautiously to avoid damage.
How to Remove Bike Pedals Without an Allen Key
Removing bike pedals without an Allen key may seem challenging, but with the right tools and techniques, it can still be done efficiently. If you don’t have an Allen key available, here’s an alternative method to remove your bike pedals:
Step 1: Gather the Necessary Tools
Before you start, ensure you have the some following tools handy:
- Adjustable wrench or pedal wrench
- Lubricating oil or penetrating oil
- Rag or towel
Step 2: Prepare the Pedal
Start from cleaning the pedal area with a soft cloth or towel to remove any dirt or debris. This will provide better grip and prevent slippage during the removal process.
Step 3: Apply Lubricating Oil
If the pedals feel stuck or resistant to rotation, apply a few drops of lubricating oil or penetrating oil to the pedal spindle. Allow the oil to penetrate for a few minutes to loosen the pedal.
Step 4: Position the Wrench
Using an adjustable wrench or pedal wrench, position it onto the flats of the pedal spindle. Ensure a firm grip on the wrench to exert enough force during the removal process.
Step 5: Rotate the Wrench
With the wrench carefully in place, turn it in a counterclockwise position. Apply steady and firm pressure to break the initial resistance. If the pedal remains tight, try using a longer wrench or applying more force gradually.
Step 6: Unscrew the Pedal
Continue rotating the wrench counterclockwise until the pedal unscrews completely from the crank arm. Once loose, you can simply unscrew it by hand until fully removed.
Step 7: Repeat for the Other Pedal
Follow the same steps for the other pedal, ensuring you clean and lubricate it if necessary. Remember to rotate the wrench counterclockwise to loosen and unscrew the pedal from the crank arm.
FAQs: Common Questions About Changing Mountain Bike Pedals
Q: Do I need any special tools to remove my pedals?
A: The good news is, removing your mountain bike pedals is a straightforward job that only requires a few basic tools. The most important tool is a pedal wrench, which is designed specifically for removing pedals. A regular adjustable wrench or crescent wrench can also work in a pinch. You’ll also want some grease or oil to lubricate the pedal threads, and a rag to wipe your hands.
Q: Which direction to remove bike pedals?
A: This is where many beginners get stuck. The trick is this: if you want a break, turn your bike pedals to the front side and back of the bike to make it stronger. An easy way to remember is “righty tighty, lefty loosey”—turn the pedal spindle counterclockwise to loosen and remove. Be very careful not to strip the crank arm threads by turning the wrong way. If your pedal feels stuck, apply more grease and slowly work it back and forth to loosen the threads.
Q: How to remove seized bike pedals
A: You can use a pedal extractor tool to remove a seized pedal. This attaches to your pedal wrench and provides extra leverage to break the pedal free from the crank arm. If all else fails, you may need to have a bike mechanic remove and reinstall your pedals to avoid damage. But with patience and the proper technique, you can conquer even the most stubborn pedals!
Q: What size wrench to remove bike pedals?
A: Most mountain bike pedals use a 15mm pedal wrench. Some older bikes may use a 9/16” size instead, which is very close to 15mm. It’s best to check your specific pedal brand and model to determine the correct wrench size. A pedal wrench that is too large or too small can easily round off the edges of the pedal spindle, making removal even more difficult.
Conclusion
You are now equipped with everything you want to remove your lovely mountain bike pedals like a pro biker. While it may have seemed daunting at first, by following these steps carefully and avoiding the common mistakes, you’ll have those pedals off in no time. Once removed, you can perform needed maintenance, swap out for new pedals, or store your bike for the season. And now it’s time to put the pedal back on, just to reverse the action. With a little practice, removing and reinstalling your pedals will become second nature. Now get out there, tackle this yourself, and keep on riding!